ติดตั้ง mongo ด้วย docker
docker run --name wrk-mongo -p 2888:27017 -d mongo --authจากนั้นตรวจสอบ ด้วยคำสั่ง
docker ps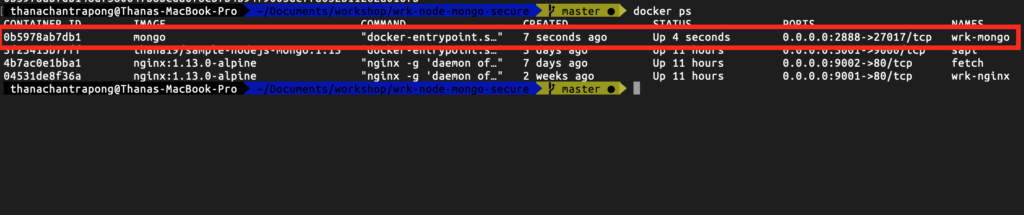
จะแสดง container ขึ้นมาแปลว่าได้ mongo มาละ เจ๋งป่ะล่ะ docker บรรทัดเดียวได้ db แว้ววว
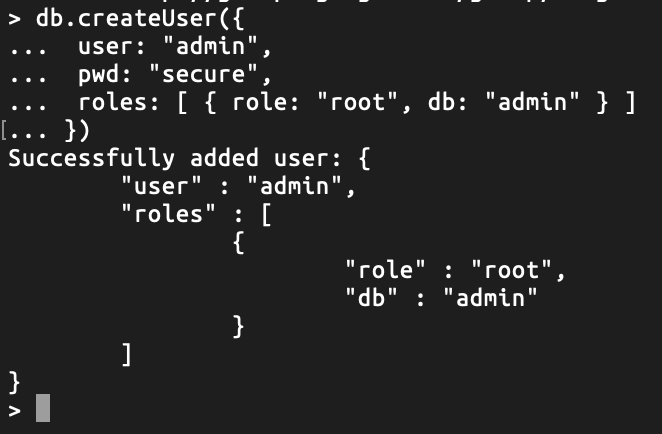
จากนั้นเราก็เข้าไปสร้าง user root โดยเข้าสร้างใน container
docker exec -it wrk-mongo mongo admin
db.createUser({
 user: "admin",
 pwd: "secure",
 roles: [ { role: "root", db: "admin" } ]
})
จากนั้นก็ออกด้วย
exitเข้ามาใหม่ด้วย user admin
docker exec -it wrk-mongo bash
mongo -u admin -p secure --authenticationDatabase admin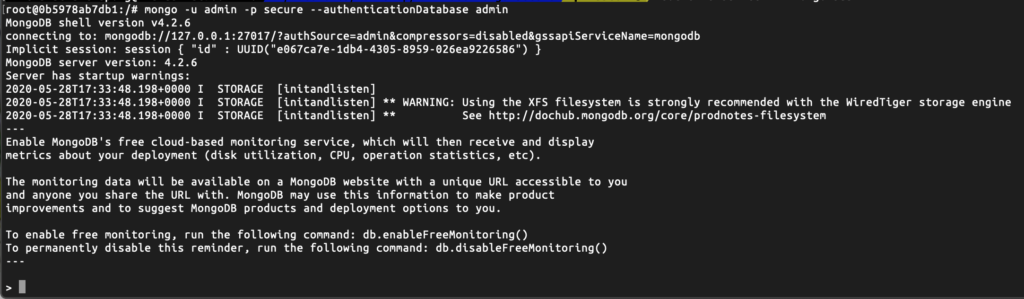
ทดสอบคำสั่ง
show dbs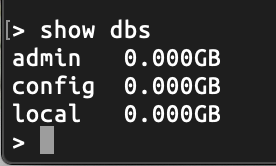
จากนั้นก็สร้าง db ชื่อว่า test
use test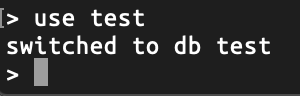
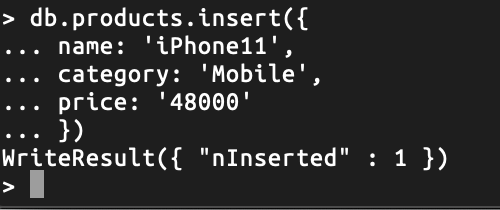
เพิ่ม record ไปยัง collection products
db.products.insert({
name: 'iPhone11',
category: 'Mobile',
price: '48000'
})
db.products.find()
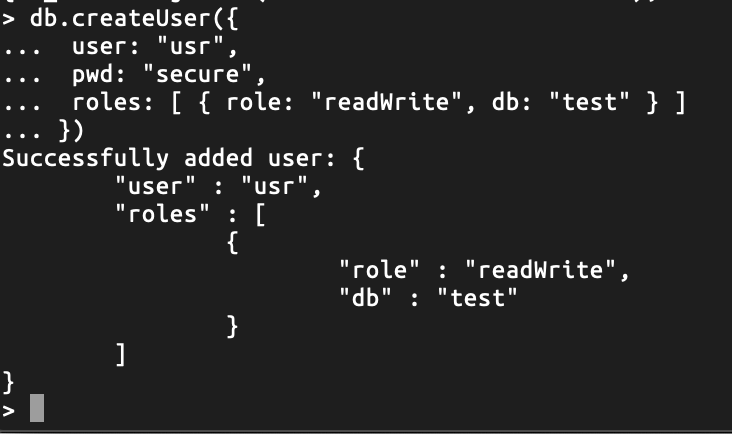
db.createUser({
 user: "usr",
 pwd: "secure",
 roles: [ { role: "readWrite", db: "test" } ]
})
จากนั้นก็ออกด้วย
exitเราจะใช้ Nodejs ทดสอบดังนี้
const express = require('express')
const app = express()
const mongoose = require('mongoose')

const Product = require('./product')
const products = [{}]

app.use(express.json())

mongoose.connect('mongodb://usr:secure@localhost:2888/test', { useNewUrlParser: true })

app.get('/', (req, res) => {
  res.json({ message: 'wrk-mongodb!' })
})

app.get('/products', async (req, res) => {
    const products = await Product.find({})
    res.json(products)
})

app.listen(9000, () => {
  console.log('Application is running on port 9000')
})
ซึ่ง connection string ก็ตามนี้
mongoose.connect('mongodb://usr:secure@localhost:2888/test', { useNewUrlParser: true })ตัดจบล่ะ ไปดูรายละเอียดใน youtube ละกัน
(Visited 911 times, 1 visits today)