main.dart import ‘package:flutter/material.dart’; impor… Continue reading Workshop: Flutter Auth Login #part10 main.dart Check Acess Token when Logged-in
Workshop: Flutter Auth Login #part9 EditProfilePage updateprofile api
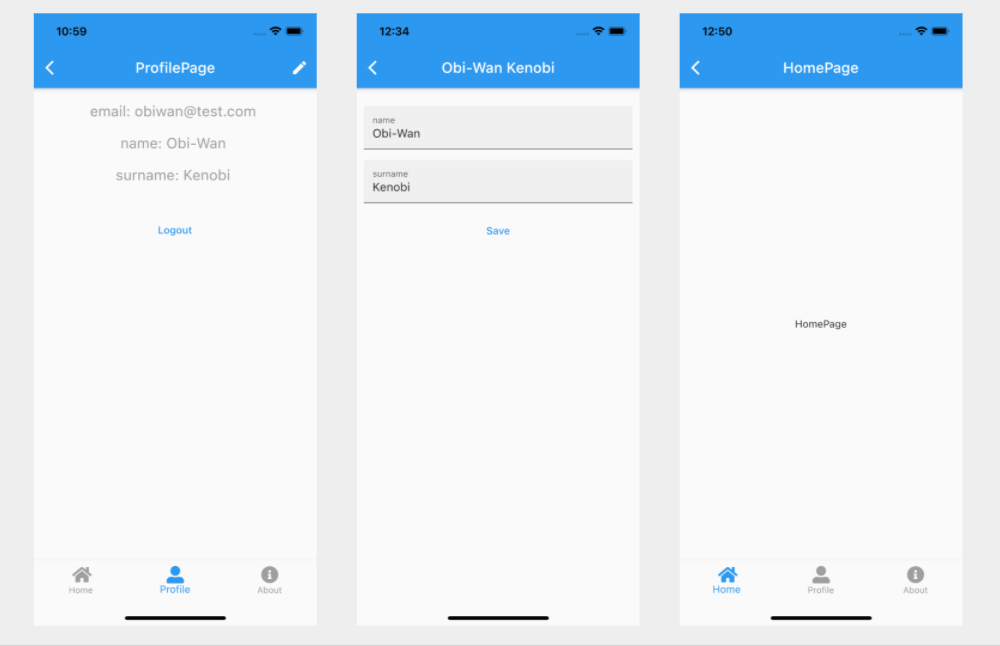
EditProfilePage.dart API Update Profile https://api.tha… Continue reading Workshop: Flutter Auth Login #part9 EditProfilePage updateprofile api
Workshop: Flutter Auth Login #part8 send ScreenArguments to EditProfilePage

Create ScreenArguments.dart ProfilePage.dart EditProfil… Continue reading Workshop: Flutter Auth Login #part8 send ScreenArguments to EditProfilePage
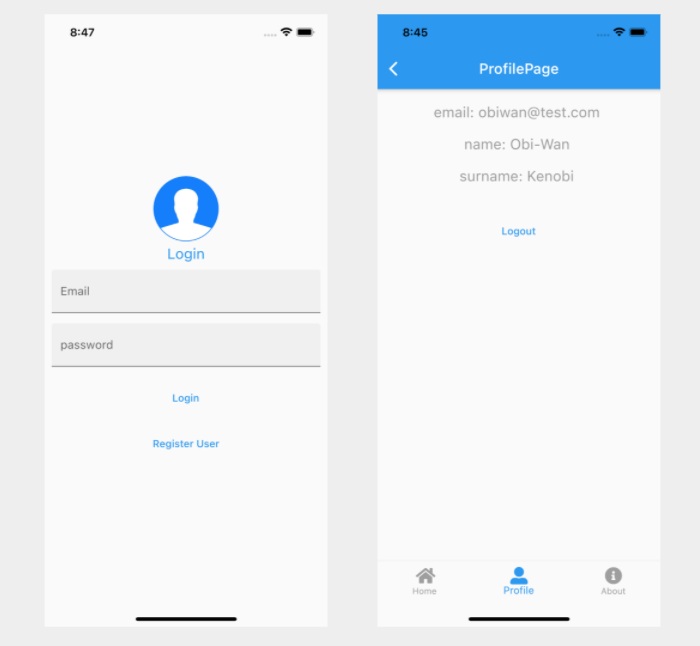
Workshop: Flutter Auth Login #part7 ProfilePage get SharedPreferences and Remove SharedPreferences for Logout
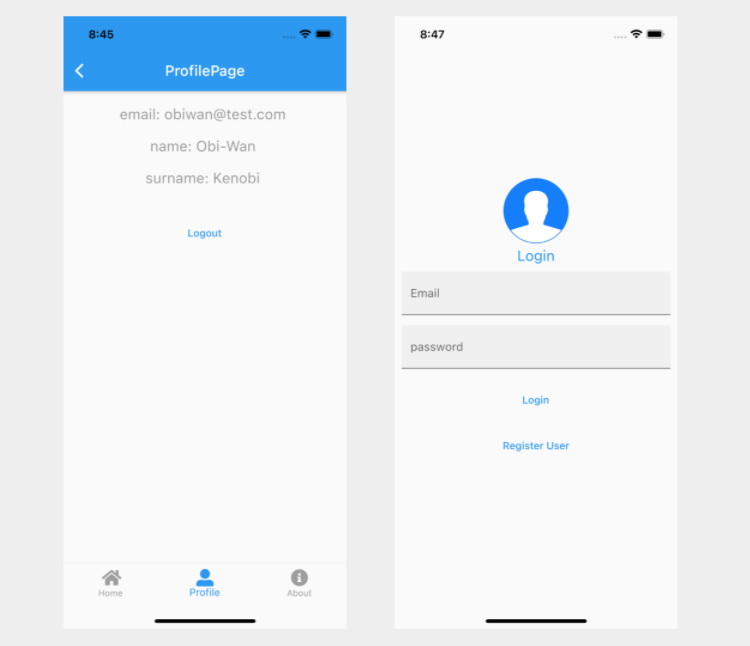
ProfilePage.dart Log out import ‘package:flutter/materi… Continue reading Workshop: Flutter Auth Login #part7 ProfilePage get SharedPreferences and Remove SharedPreferences for Logout
Workshop: Flutter Auth Login #part6 Launcher.dart BottomNavigationBar
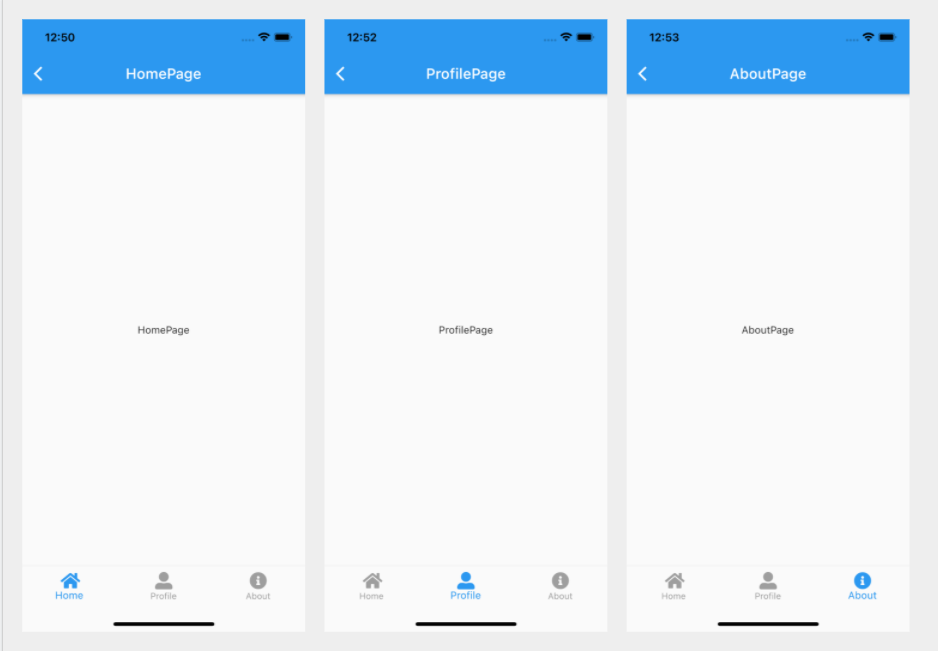
font_awesome_flutter This will add a line like this to … Continue reading Workshop: Flutter Auth Login #part6 Launcher.dart BottomNavigationBar
Workshop: Flutter Auth Login #part5 LoginPage Get Access Token to set SharedPreferences
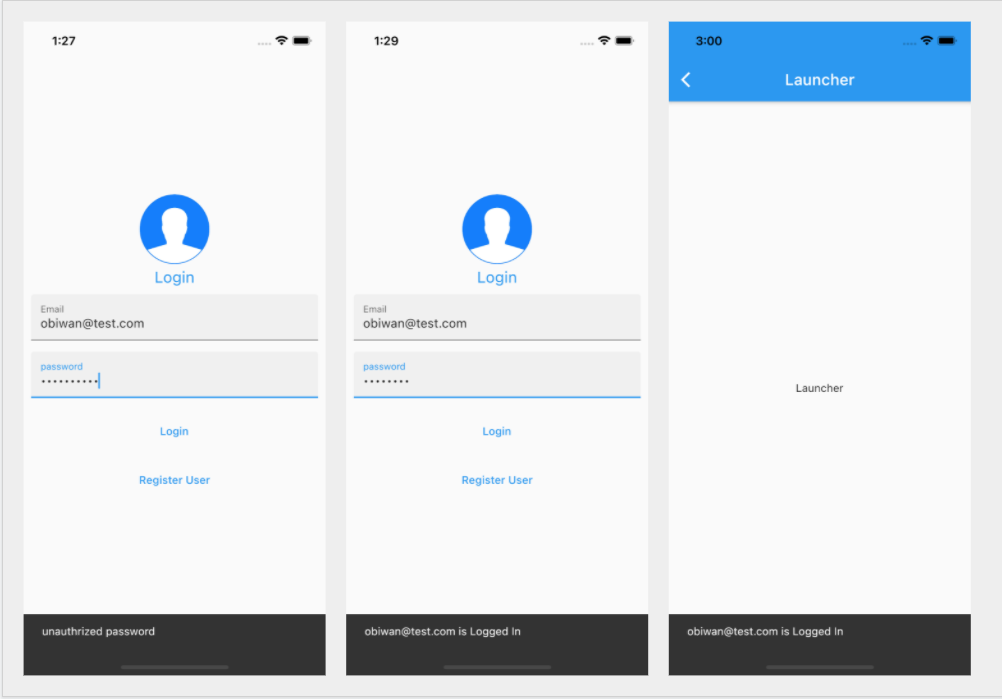
a sample API https://api.thana.in.th/workshop/docu… Continue reading Workshop: Flutter Auth Login #part5 LoginPage Get Access Token to set SharedPreferences
Workshop: Flutter Auth Login #part4 RegisterPage Fetch data from http package
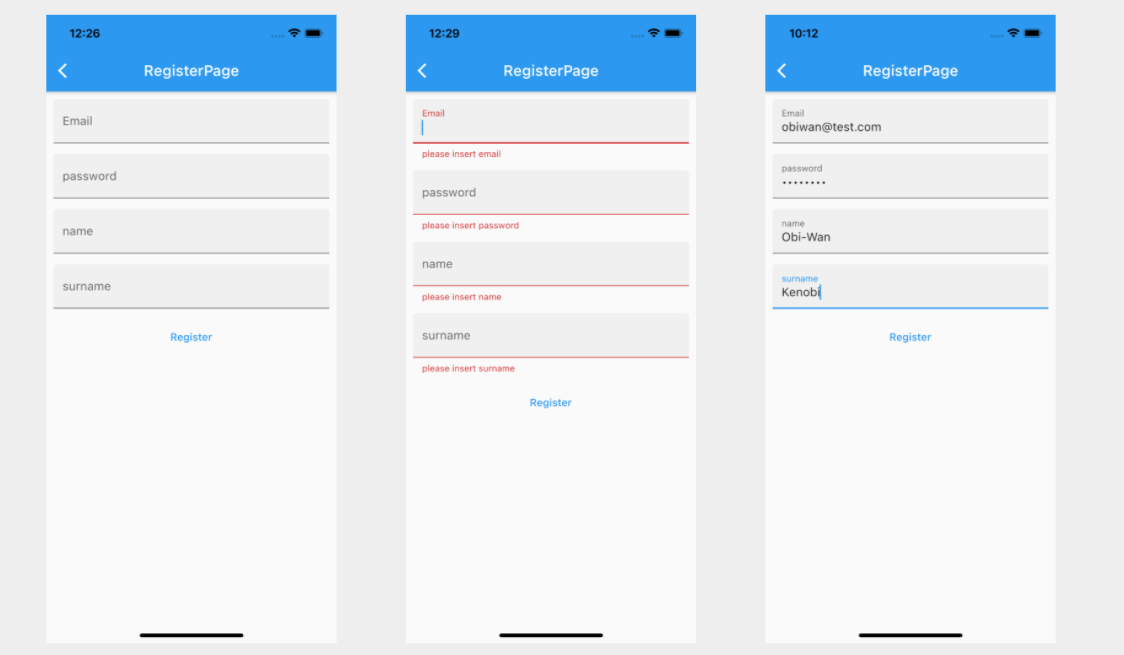
Now in your Dart code, you can use: FormBuider() add _f… Continue reading Workshop: Flutter Auth Login #part4 RegisterPage Fetch data from http package
Workshop: Flutter Auth Login #part3 LoginPage FormBuilder
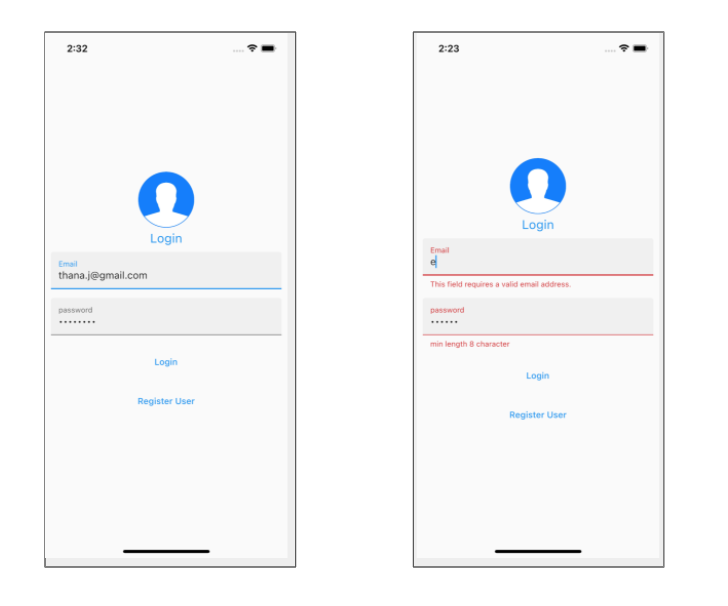
Create folder ‘assets’ in Flutter Project a… Continue reading Workshop: Flutter Auth Login #part3 LoginPage FormBuilder
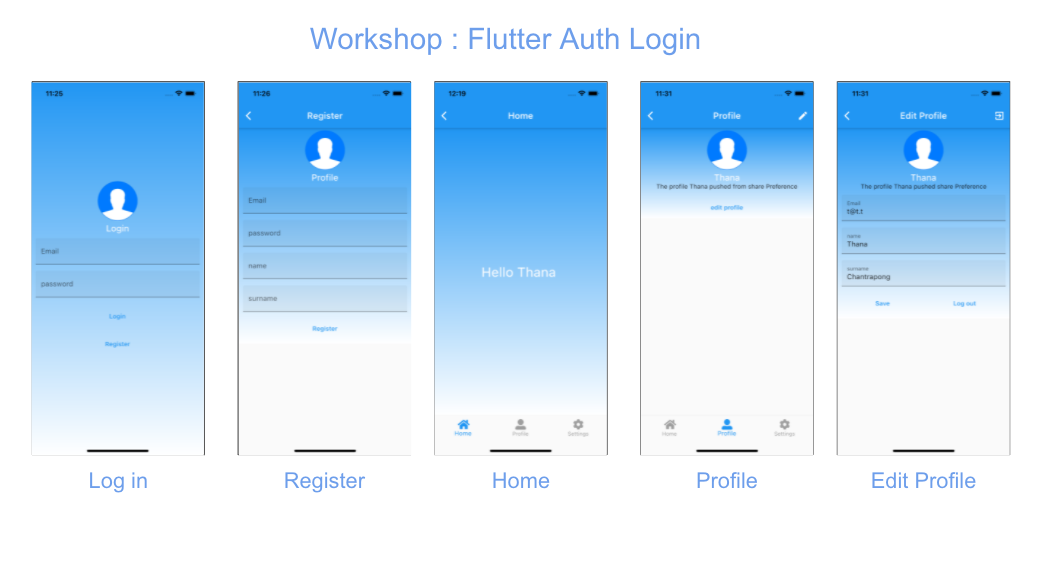
Workshop: Flutter Auth Login #part2 Create Pages

Create Pages in Workshop Craete all files in Picture or… Continue reading Workshop: Flutter Auth Login #part2 Create Pages
Workshop: Flutter Auth Login #part1 Create new Project
Create New Flutter Project Ctrl – C end process a… Continue reading Workshop: Flutter Auth Login #part1 Create new Project